Ok I know it’s not Thanksgiving yet. But you gotta get a head start on Christmas crafts so you can be ready to decorate! So that’s what we’re doing! This craft comes from the brilliant people at Good Housekeeping magazine. I saw this wreath and had to make it. The instructions were just a bit confusing though, so I decided to post my process here to help out anyone else who wants to make this. Quick warning, this project is pretty darn tedious. It’s also pretty easy though so you will get through it! Ready?! Let’s get the supplies together.

The magazine called for an 18″ Styrofoam wreath but I used a 12″ wreath. Mine is also a little wider than theirs, so just pick out whatever size you like. You’ll also need plenty of felt for this. A variety of greens is what I did but you can do one color of green or red and white or whatever colors you want your wreath to be. I got 4 sheets of each color, plus 4 extra of the color I used to cover the wreath, and it was plenty. Again, I used a smaller wreath size so if you want to go bigger then maybe grab some extra felt. You also need mini red pom-poms, wooden craft sticks, pins to hold the base felt on the wreath, ribbon, and of course a handy dandy hot glue gun.
First you need to cover the wreath in felt. You can buy a big sheet of felt for this but I just used the regular felt sheets. I cut them in 2 1/4″ wide strips since my wreath is a little wider. The size of strips you need will probably depend on how big your wreath is. But once you get your strips cut, grab one of your pins and attach the felt to the wreath.

Those pins were surprisingly difficult to get through the felt. But anyway, wrap the felt around the wreath, pin more strips, keep wrapping, until your wreath is completely covered.

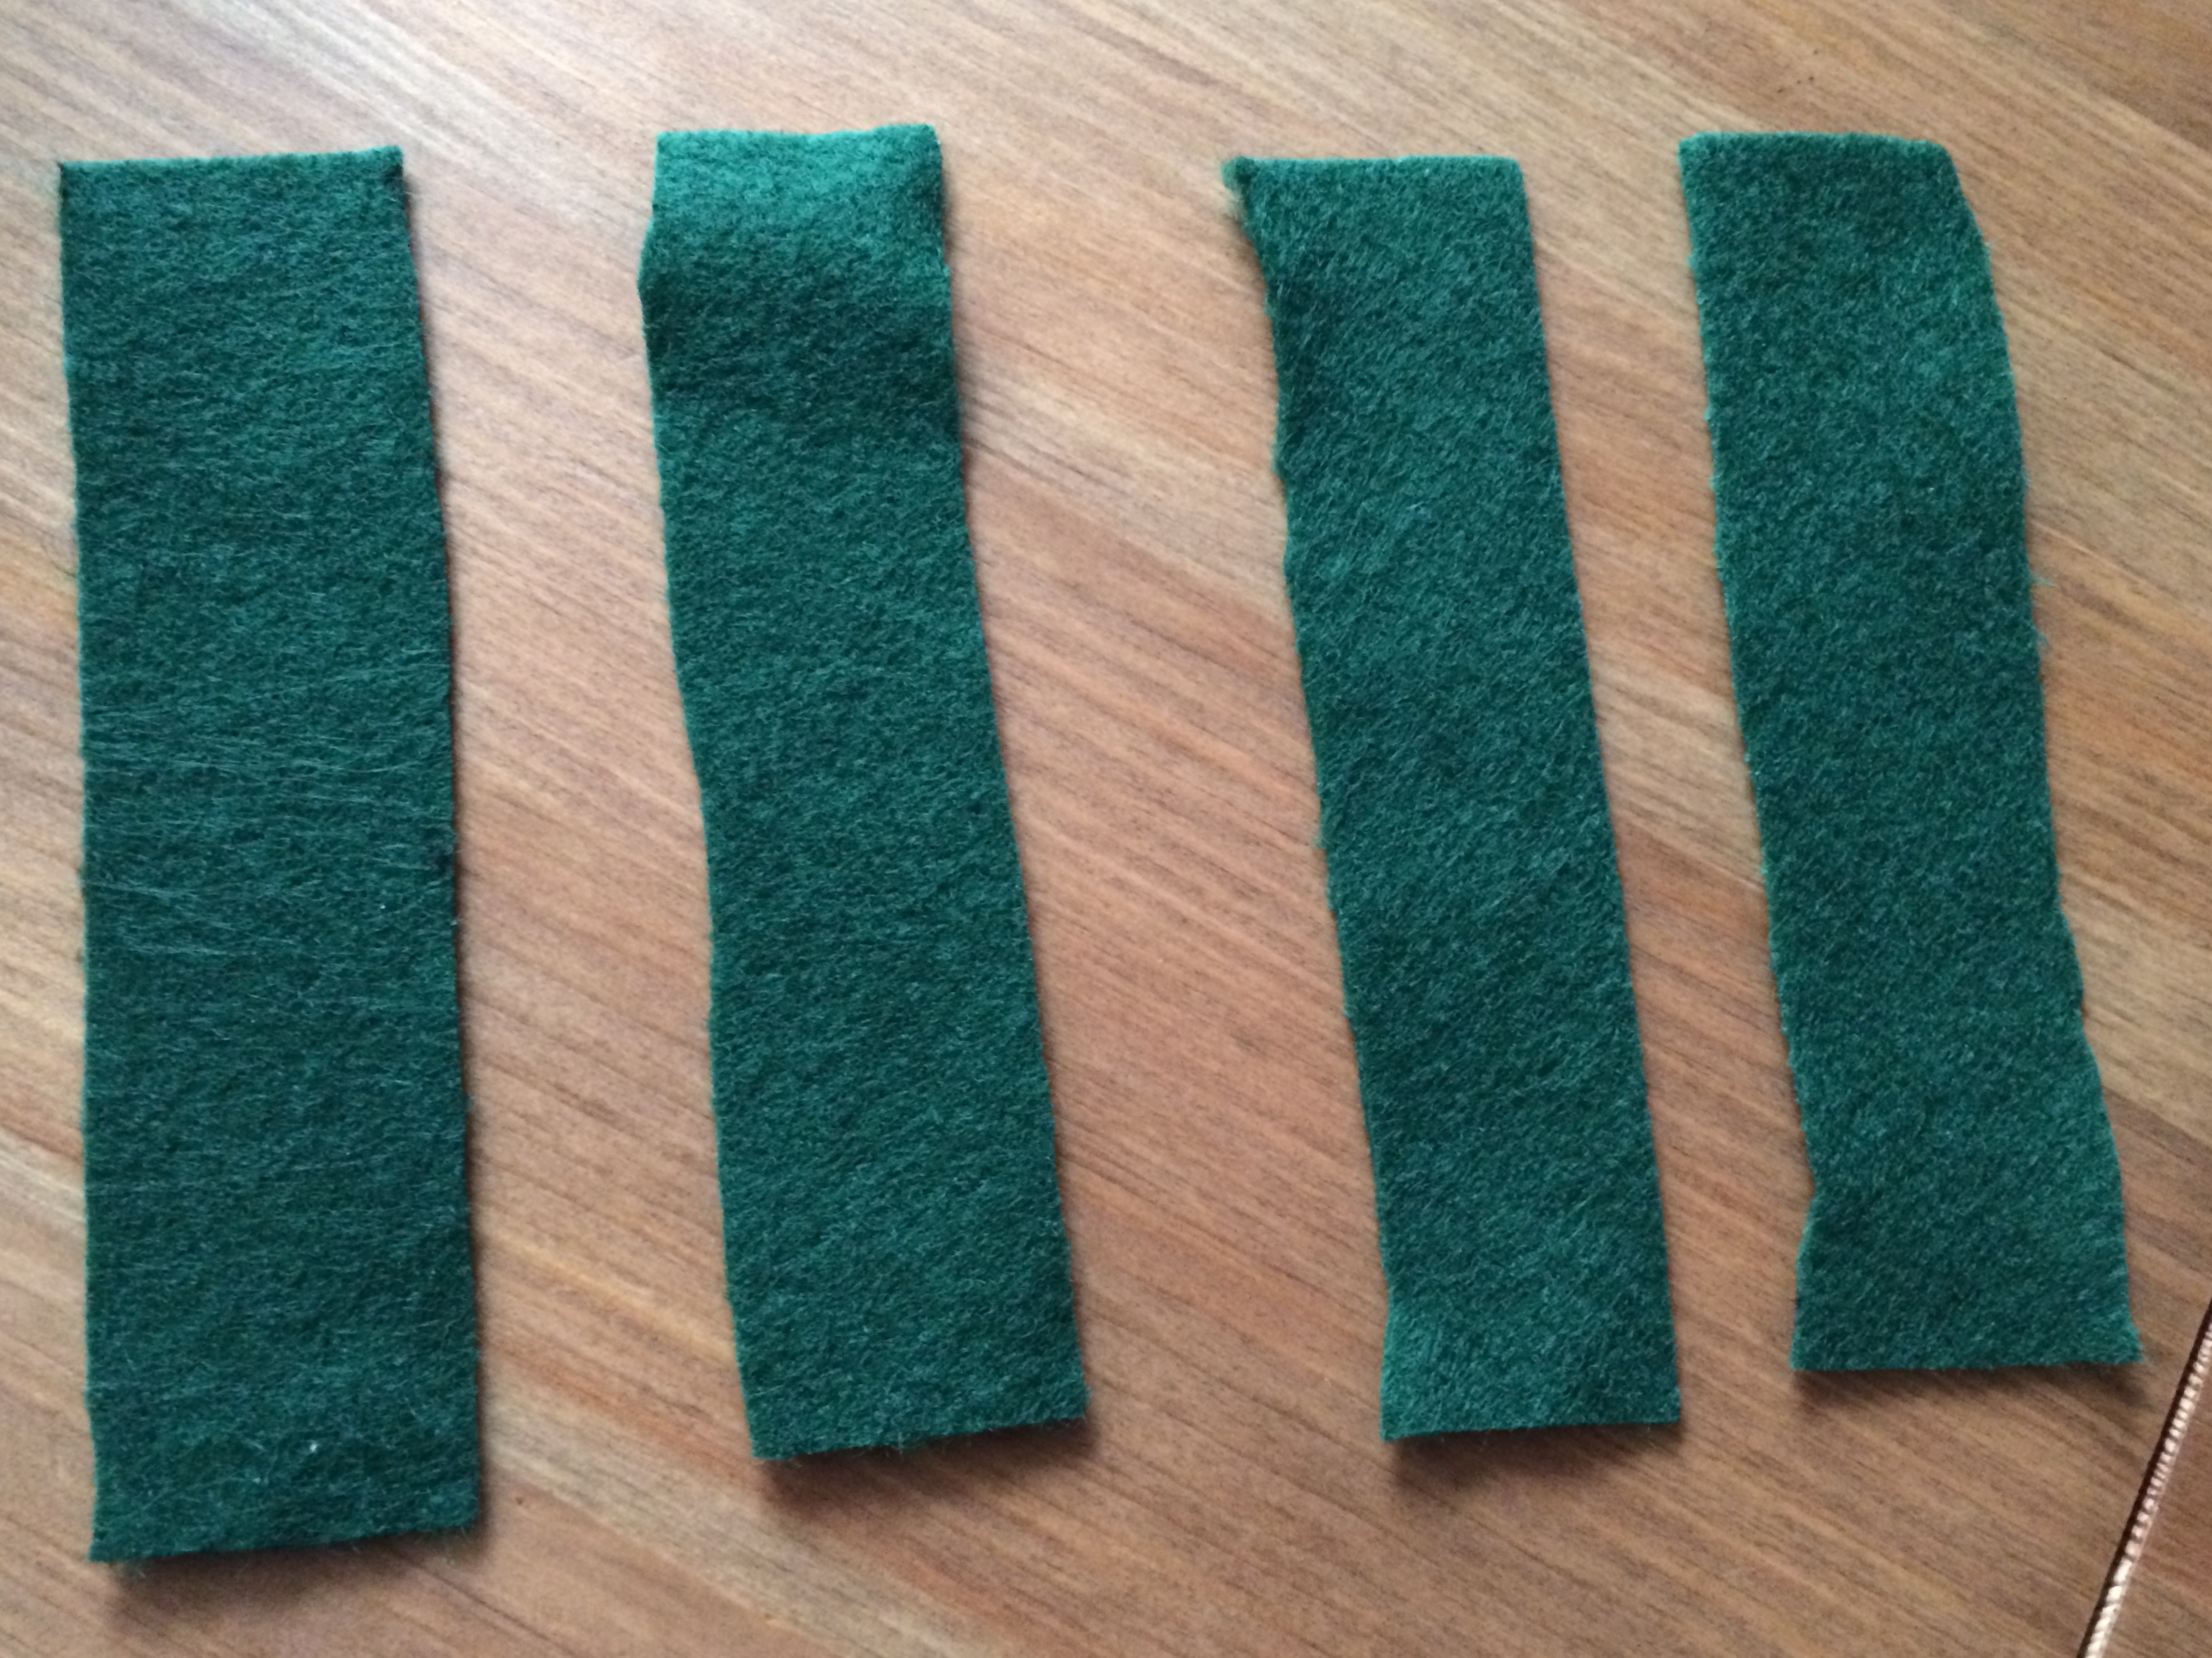
I used dark green, the magazine used brown, so it’s really up to you what color you want to use. Now that the wreath is covered, it’s time for the fun part: making sprigs. Settle in because you’re gonna be here for awhile. The magazine says to use 4″ x 1″ strips but I ended up going with 4 1/2″ x 1″. Here’s the fastest way I found to cut them. Take a sheet of felt and fold it in half length wise.

Cut down the fold, and now each half will give you 4 1/2″ long strips. You just need to cut them into 1″ wide strips. I made 1 inch marks along each half and got 12 strips out of each half.
So uh…now do that to all of your felt sheets! Whee!
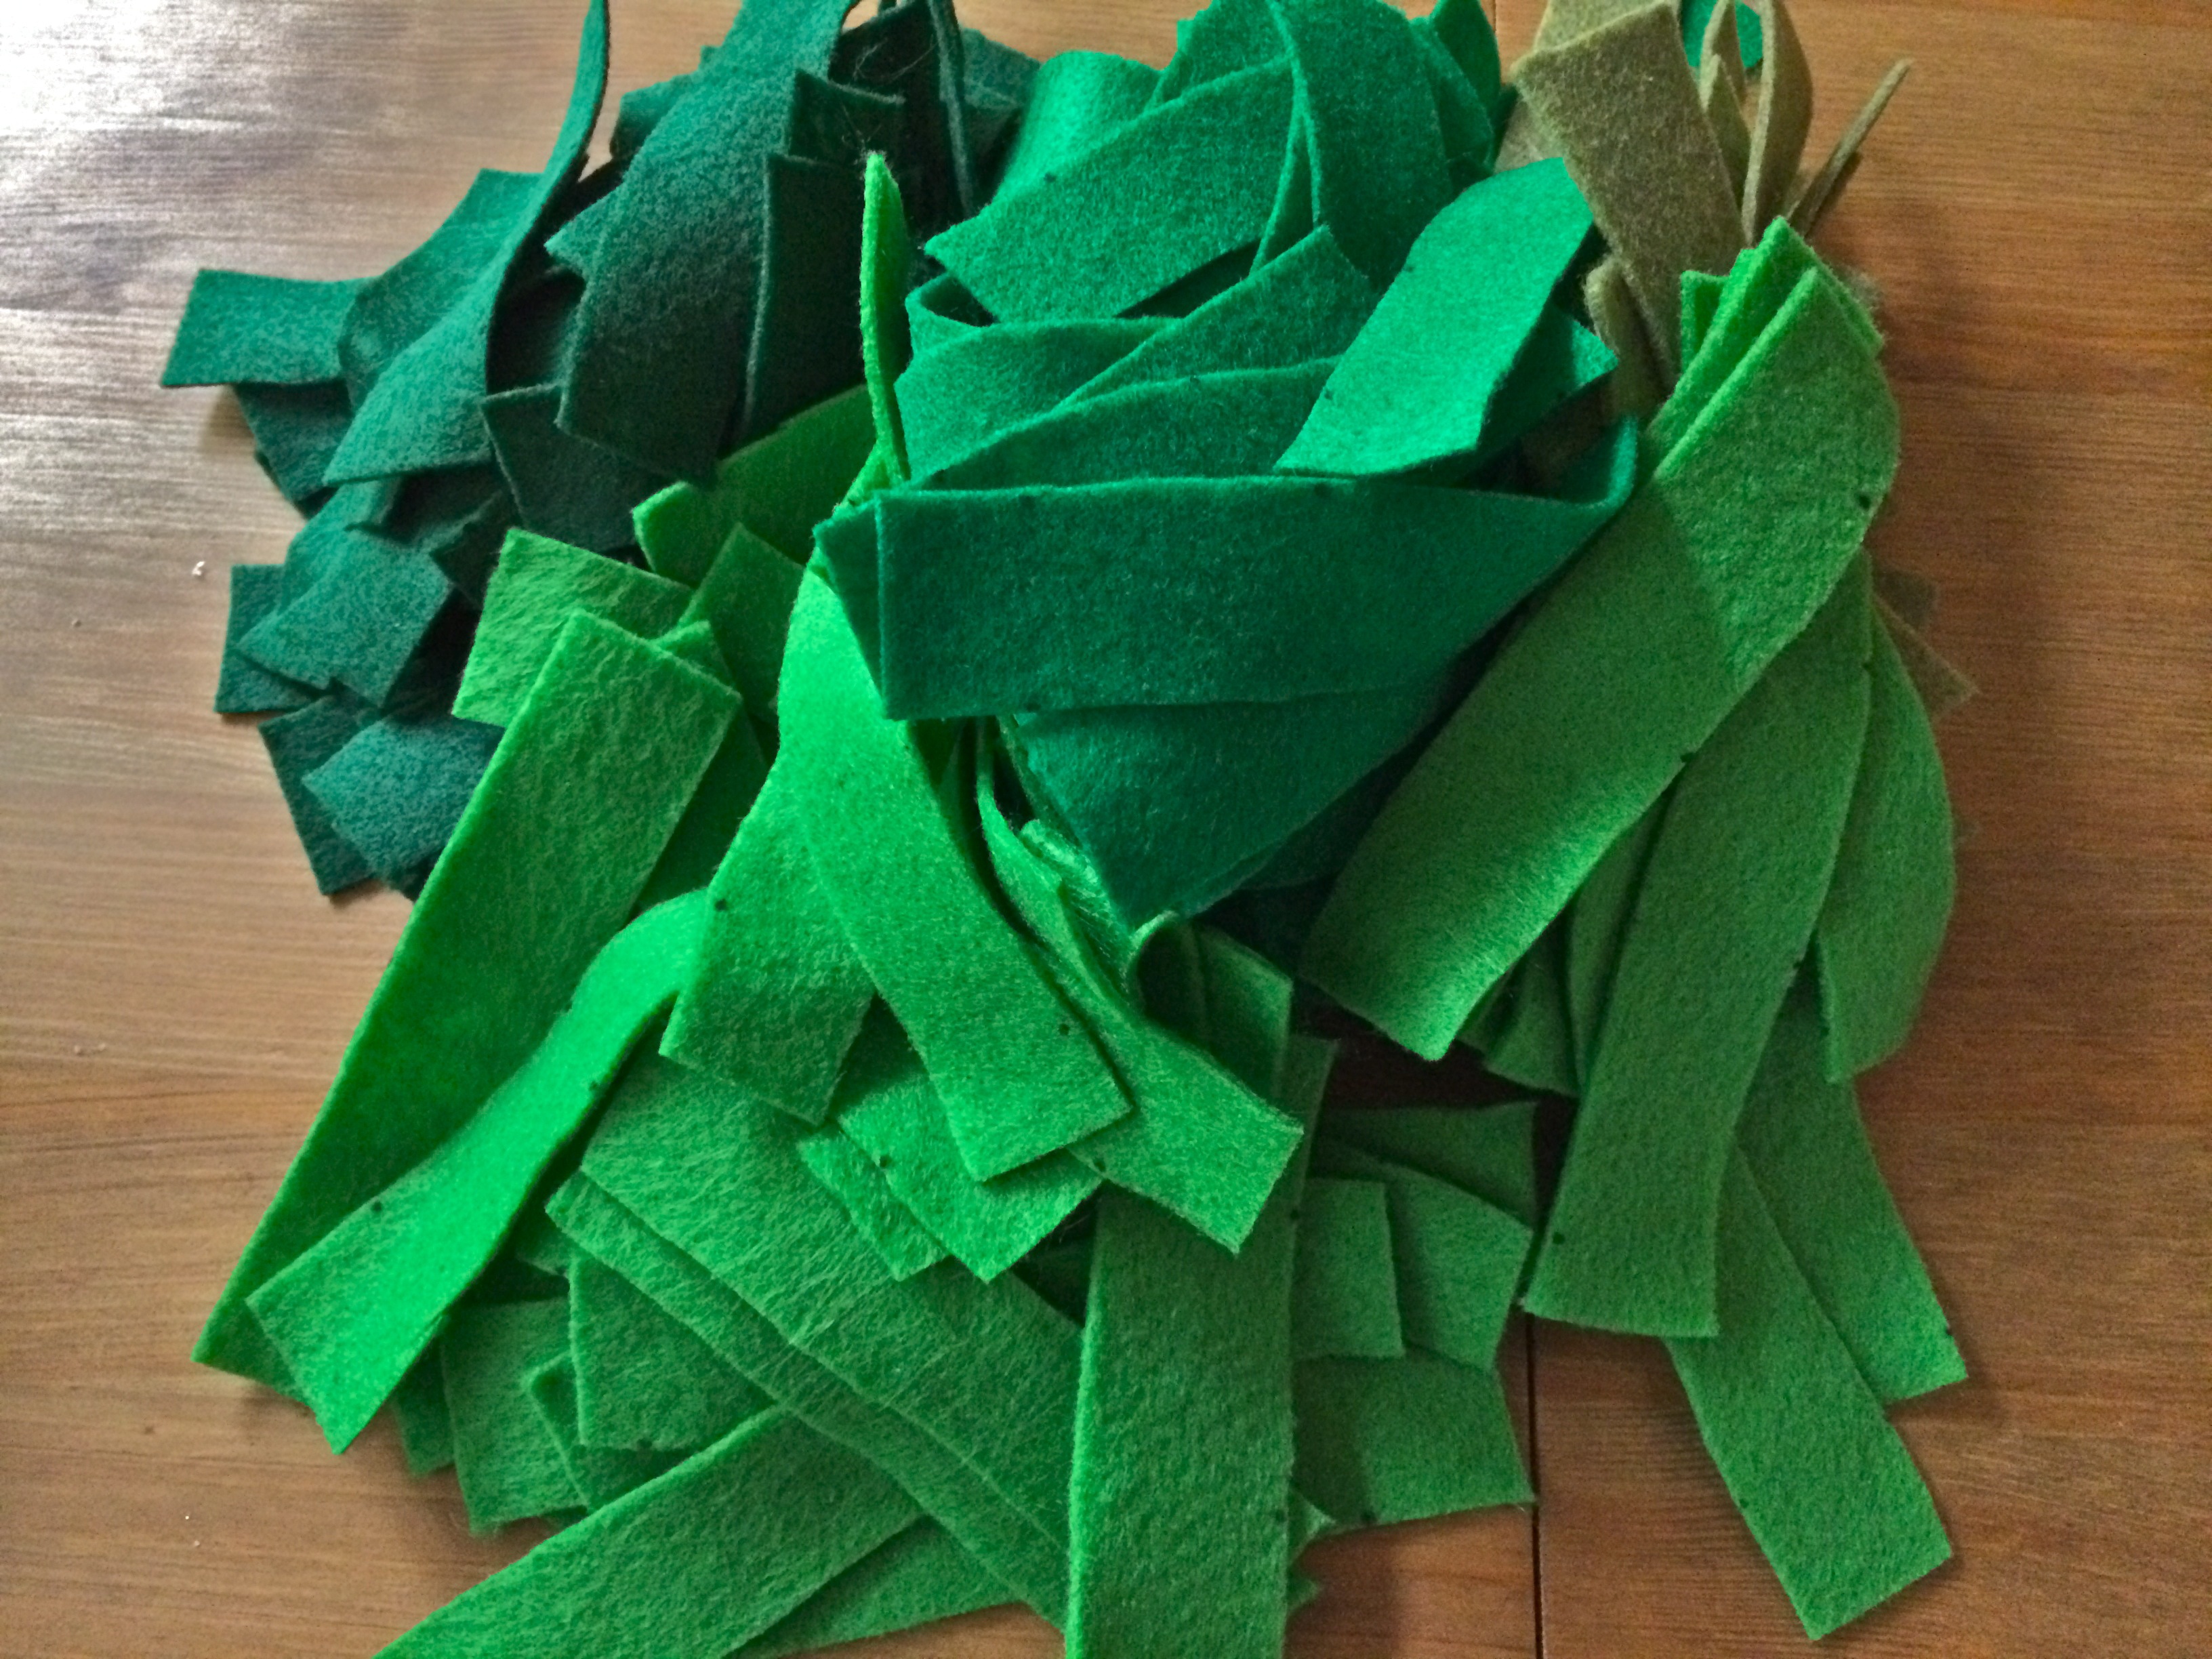
Don’t you want to jump in the pile of felt strips you just made? I know, but we must press on. Now you have to make some fringe. On each strip, make cuts about 3/4 of the way in, down the whole strip. I used a smaller pair of scissors for this and they are really sharp which also helped. If you have something like that, definitely use them.
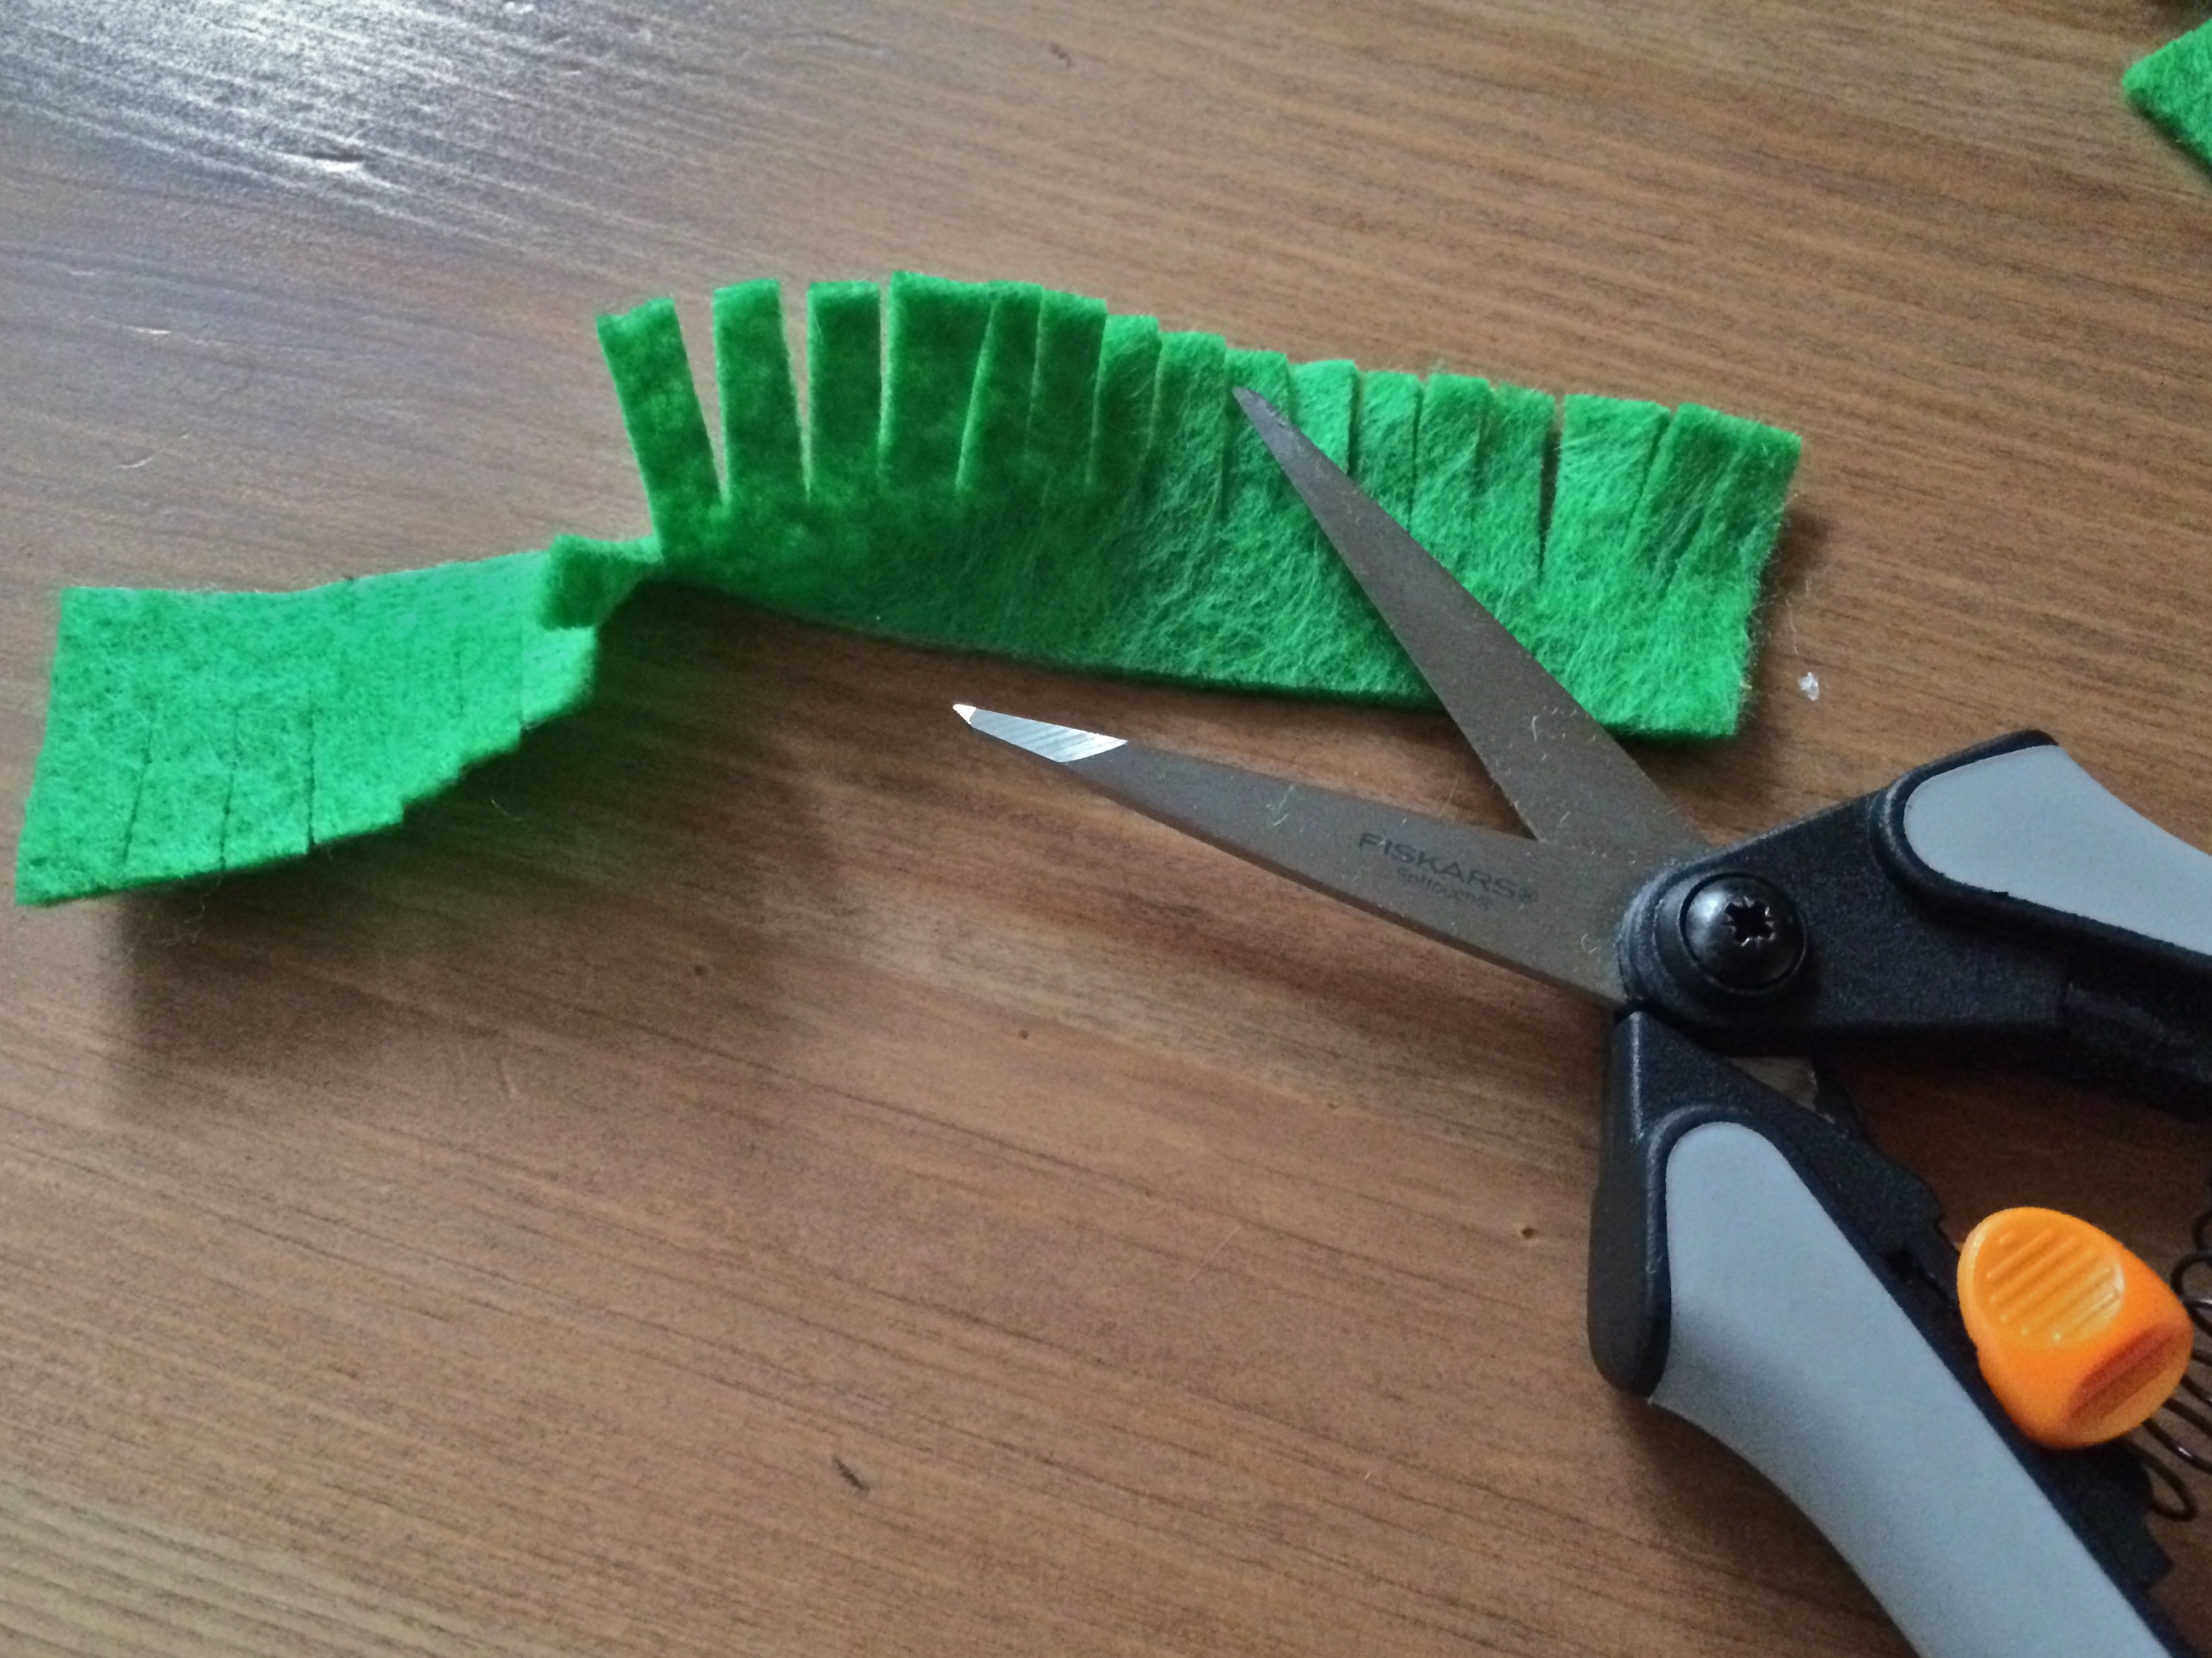
A tip for this step is to make sure you don’t cut too far into the strip. 3/4 in and no more or the sticks will show through easier when you twist. Ok so now I suggest you put on your favorite Christmas movie and start cutting some fringe. I actually layered 2 strips together so I could cut fringe on 2 strips at a time to speed up the process. But it still took awhile. Happy fringing!

Are you done?? How was the movie? Aren’t you happy all that cutting is over? Me too. Time to glue! Grab your craft pick, and put a dab of hot glue on the end. Side note: since you’re working with small picks and small dabs of glue, you need to be extra careful not to burn your fingers on the hot glue. Don’t ask me how I know this.

Now stick on your felt, fringe side up.

I did this to a bunch of sticks before I wound the felt around, just so the glue could dry first. But if you want to wind it now that works too. Whenever you’re ready, wind the felt down around the stick.

A tip about the winding: it’s ok if you have empty stick at the bottom of the sprig. Just don’t let the stick show through the felt as you twist. Now glue the felt to the bottom of the stick and voila! It’s a sprig!

Cool huh? So uh…now do this to all your felt pieces. I warned you!! How bout another Christmas movie?

Phew! Aren’t you glad that’s all over? Now it’s really wreath makin time! Put hot glue on the bottom of the sprig and stick them all around the wreath. Mix up the colors, have some stick out here and there.

Once you’ve covered the wreath go back and fill in any empty spots or cover up any pieces of stick you see.

Almost done! Now it’s time to add the red pom-pom berries. Glue some wherever you want!

Now we just need the finishing touch, the big red bow. Or whatever color bow you’re using. I stuck mine on using the pins I used to wrap the wreath, but you can also hot glue it on. And you’re finished!

See now wasn’t all that hard work worth it? I think so too. Just glue some ribbon on the back, hang it up and get the holiday started! Who’s ready to make another one?!
Update! I put a couple of these up on Etsy for anyone who loves this wreath but doesn’t have the time to make their own!
https://www.etsy.com/listing/213501143/felt-christmas-wreath?

Thank you SO SO much for posting this great detailed how-to! I wanted to make the wreath from the magazine, but without any step-by-step photos in the article, I was totally lost!!!
I’m so glad this was helpful to you! I felt the same way when I read the magazine. Hope your wreath turns out beautifully!
Thank you so much for your pictures and description!! It was super helpful!!
Happy to know it helped you!! Thanks for reading!
I’m just getting to last year’s magazine (it’s September 2014-I know, so sad), and I was so thrilled by the wreath in the magazine and decided I was going to make it for this Christmas!! I printed the directions AND WAS LOST!! I read the remarks posted to Good Housekeeping and was happy to see (sorry) that I was not alone in my confusion. I also noticed that someone posted your site as a reference! Yay! Project back on!! I LOVE, LOVE your step by step instructions AND the prompting of putting in a Christmas movie (I’m feeling the Spirit already!!)!! I’m ready to hit the craft store! Thank you so much!! Even a year later, you are helping someone out!!
Yay! I’m so happy this was helpful to you! And is it ever too late/early for Christmas crafts? I don’t think so. Happy wreathing!!